What are the main application fields of roughness testers?

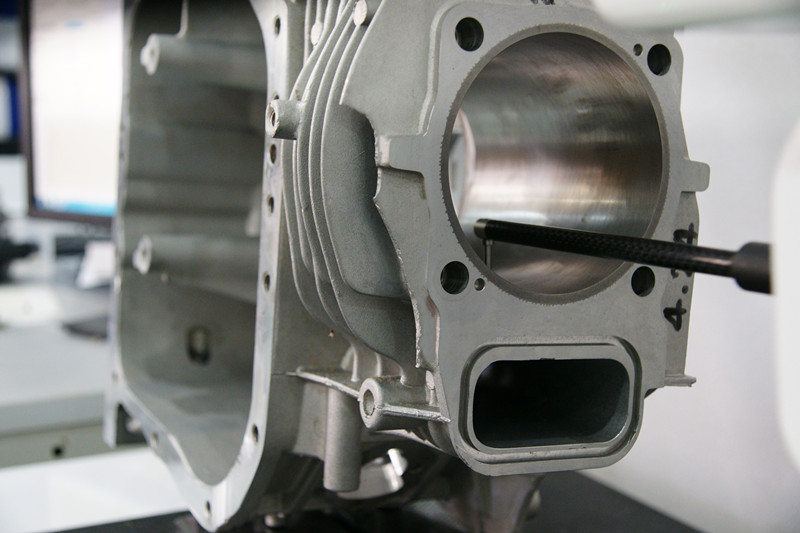
First, machining manufacturing, mainly metal processing manufacturing. The roughness tester is created to detect the surface roughness of machined parts. In particular, the stylus type roughness measuring instrument is more suitable for the detection of hard metal surface,such as automotive parts processing and manufacturing, mechanical parts processing and manufacturing, etc.. As long as the surface quality of the workpiece is concerned, the application of the roughness tester is an essential tool for testing.
Second, non-metallic processing manufacturing, with the progress and development of science and technology, more and more new materials applied to the processing process, such as ceramics, plastics, polyethylene, and so on. Now some bearings are made with special ceramic material processing, and pump valves are made of polyethylene material. These materials are hard, in certain applications they can replace metal materials to produce workpieces, in their production and processing process it also needs to test its surface roughness.
Third, with the technology and function of roughness tester's continous improvement, as well as in-depth promotion and application, more and more industries are searching for roughness testing. Besides mechanical processing manufacturing, electric power, communications, electronics, coupling switches, integrated circuits semiconductor production and processing process also need roughness assessment, and even people's lives use stationery, tableware, human teeth surface are to be inspected by surface roughness devices.

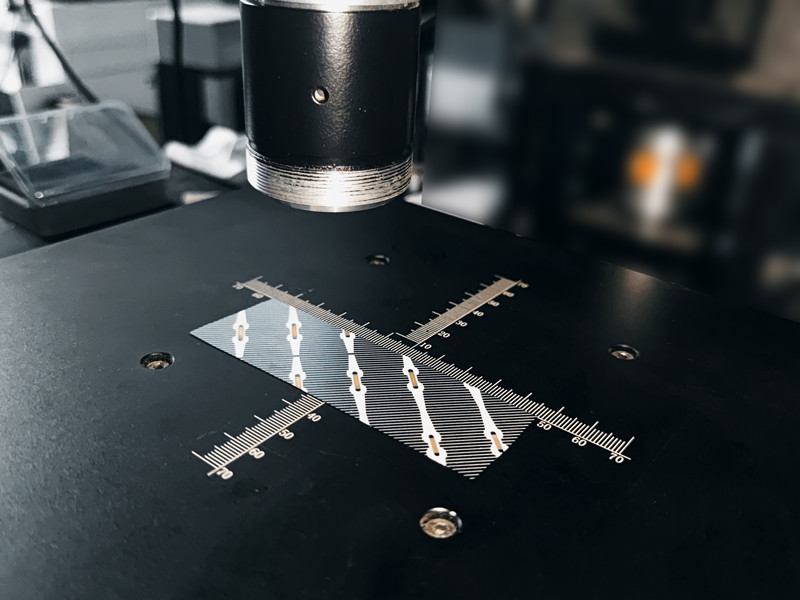
For some high-precision, scratch-prone workpieces, they can use optical non-contact measuring instruments for roughness measurement, which can quickly complete the measurement of workpiece roughness at the same time to ensure the workpiece is not scratched. The customer can therefore choose between contact and non-contact measuring instruments depending on the conditions of the workpiece to be measured.


 -
-  +86 13087559846